Mason Jars: Reduce, Reuse, Re-Garden
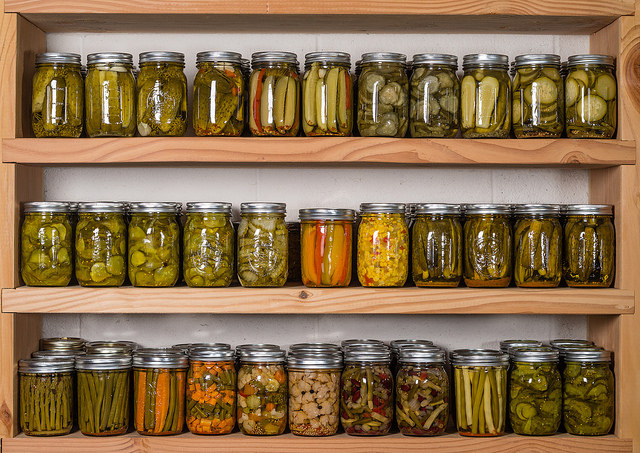
In New Jersey in 1858, John Landis Mason invented and patented the now famous mason jar. Due to the lack of effective canning jars available at the time, Mason invented this jar that has changed the look of canning to this day. Mason’s invention has allowed these reusable jars to become a staple in many people’s kitchens. However, in recent years, these mason jars have grown in popularity due to their versatility. There are now countless ways to use these jars in any area of your home, including in your garden!
Using Mason Jars for Decoration
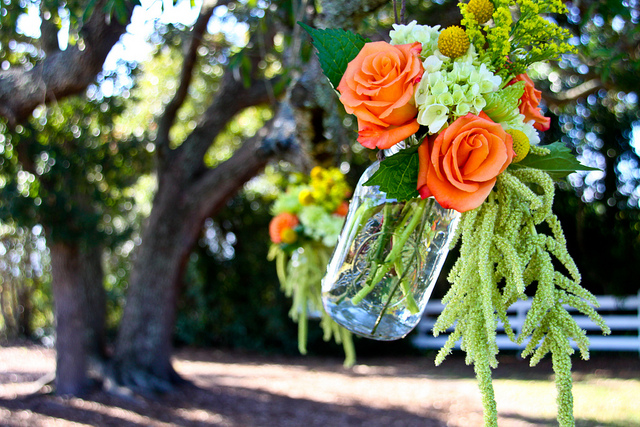
One of the most common uses of mason jars, besides canning, is decoration. With the increase in popularity of rustic decor, mason jars have become an inexpensive addition to any venue. They make beautiful vases and are often used as centerpieces on both indoor and outdoor tables. These centerpieces can be as simple or elaborate as you choose and would make the perfect addition to any garden party or barbecue!
Calling All Butterflies
Another great way to reuse your old mason jars is to attract pollinators to your garden. A simple butterfly feeder is a fantastic way to encourage more butterflies to visit your garden and pollinate your plants. Follow these 5 easy steps to make your own:
1. Poke a hole in the center of the mason jar lid with a nail.
2. Cut a sponge into a rectangle about 1 inch long.
3. Put the piece of sponge halfway into the hole on the mason jar. It should be a snug fit.
4. Fill the glass jar with sugar water (10 parts water with 1 part sugar heated until dissolved and then allowed to cool).
5. Put the lid on and suspend the jar upside down from a tree branch.
Feel free to decorate the feeder with silk flowers and glass beads to help attract the butterflies.
Create an Herb Garden
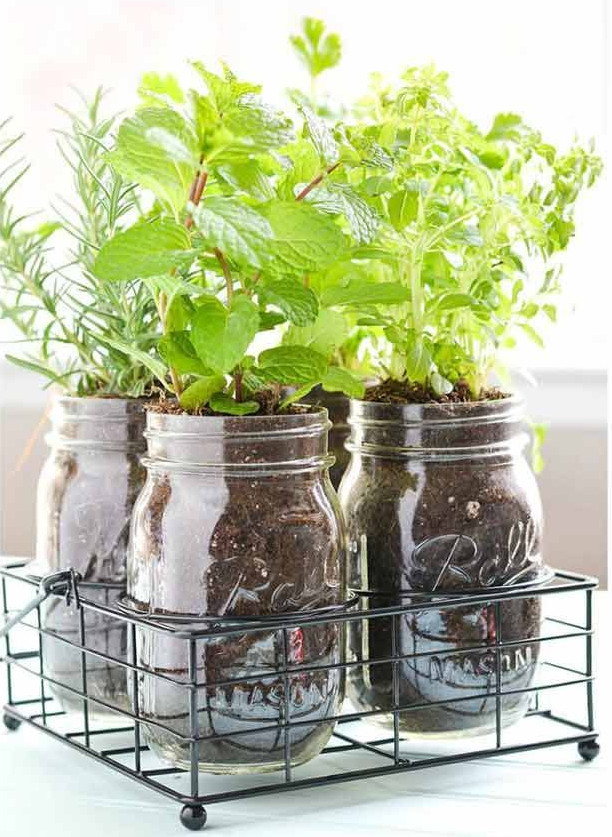
You could also reuse your mason jars as a supplement to your existing herb garden. For instance, if you live in an area where you can’t grow herbs year round, you can use mason jars to grow your off-season herbs indoors. Try using hose clamps to attach mason jars to a wall or board next to a window where they can get lots of sunlight. Fill the mason jars with soil (only the best from BigYellowBag) and add your favorite herbs! If you need extra help, check out the tutorial on MindBodyGreen.com.
Lighting is Key
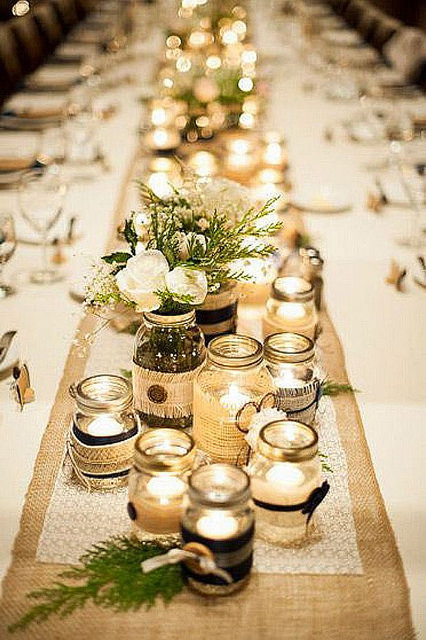
You could also use your old mason jars to make many different kinds of lights for your garden. With just an old mason jar, some citronella oil, and a cotton string for a wick, you’ve got yourself a citronella candle to fend off those pesky mosquitoes! You can also enhance the centerpiece idea with some mason jars, a few floating candle tea lights, some colored glass pebbles, and just a bit of water. You could even go the easy route and put a couple glow stick inside a mason jar for a neat, colorful ambiance. Any way you slice it, mason jars will be your new best friend when it comes to your DIY backyard lighting.

Self-Watering Planter
While using your old mason jars as an addition to your herb garden sounds great, what if you are prone to forgetting to water those poor herbs? Try out this self-watering mason jar planter! All you need is a mason jar, a tea strainer, a length of cotton string, about a cup of Black Garden Soil from your BigYellowBag, and, of course, your choice herb. First, fold the string in half and place it in the tea strainer, ensuring the ends dangle over the side. Add some water to the mason jar and place the tea strainer into the mouth of the mason jar. The string ends should rest in the water. Next, plant your herb in the tea strainer and set in a sunny place. The water will travel up the string and steadily provide moisture your plant.
Of course the main reason mason jars were invented was for the efficient canning of produce. While we see many people using mason jars for countless different purposes, we still love the idea of ensuring you have access to produce all year long. For example, you can check out this blog to figure out how to make the best pickles! Be sure to enjoy your preserved fruits and veggies before you resort to these fun DIY projects!
