Rain Gardens: Make Them Work for You
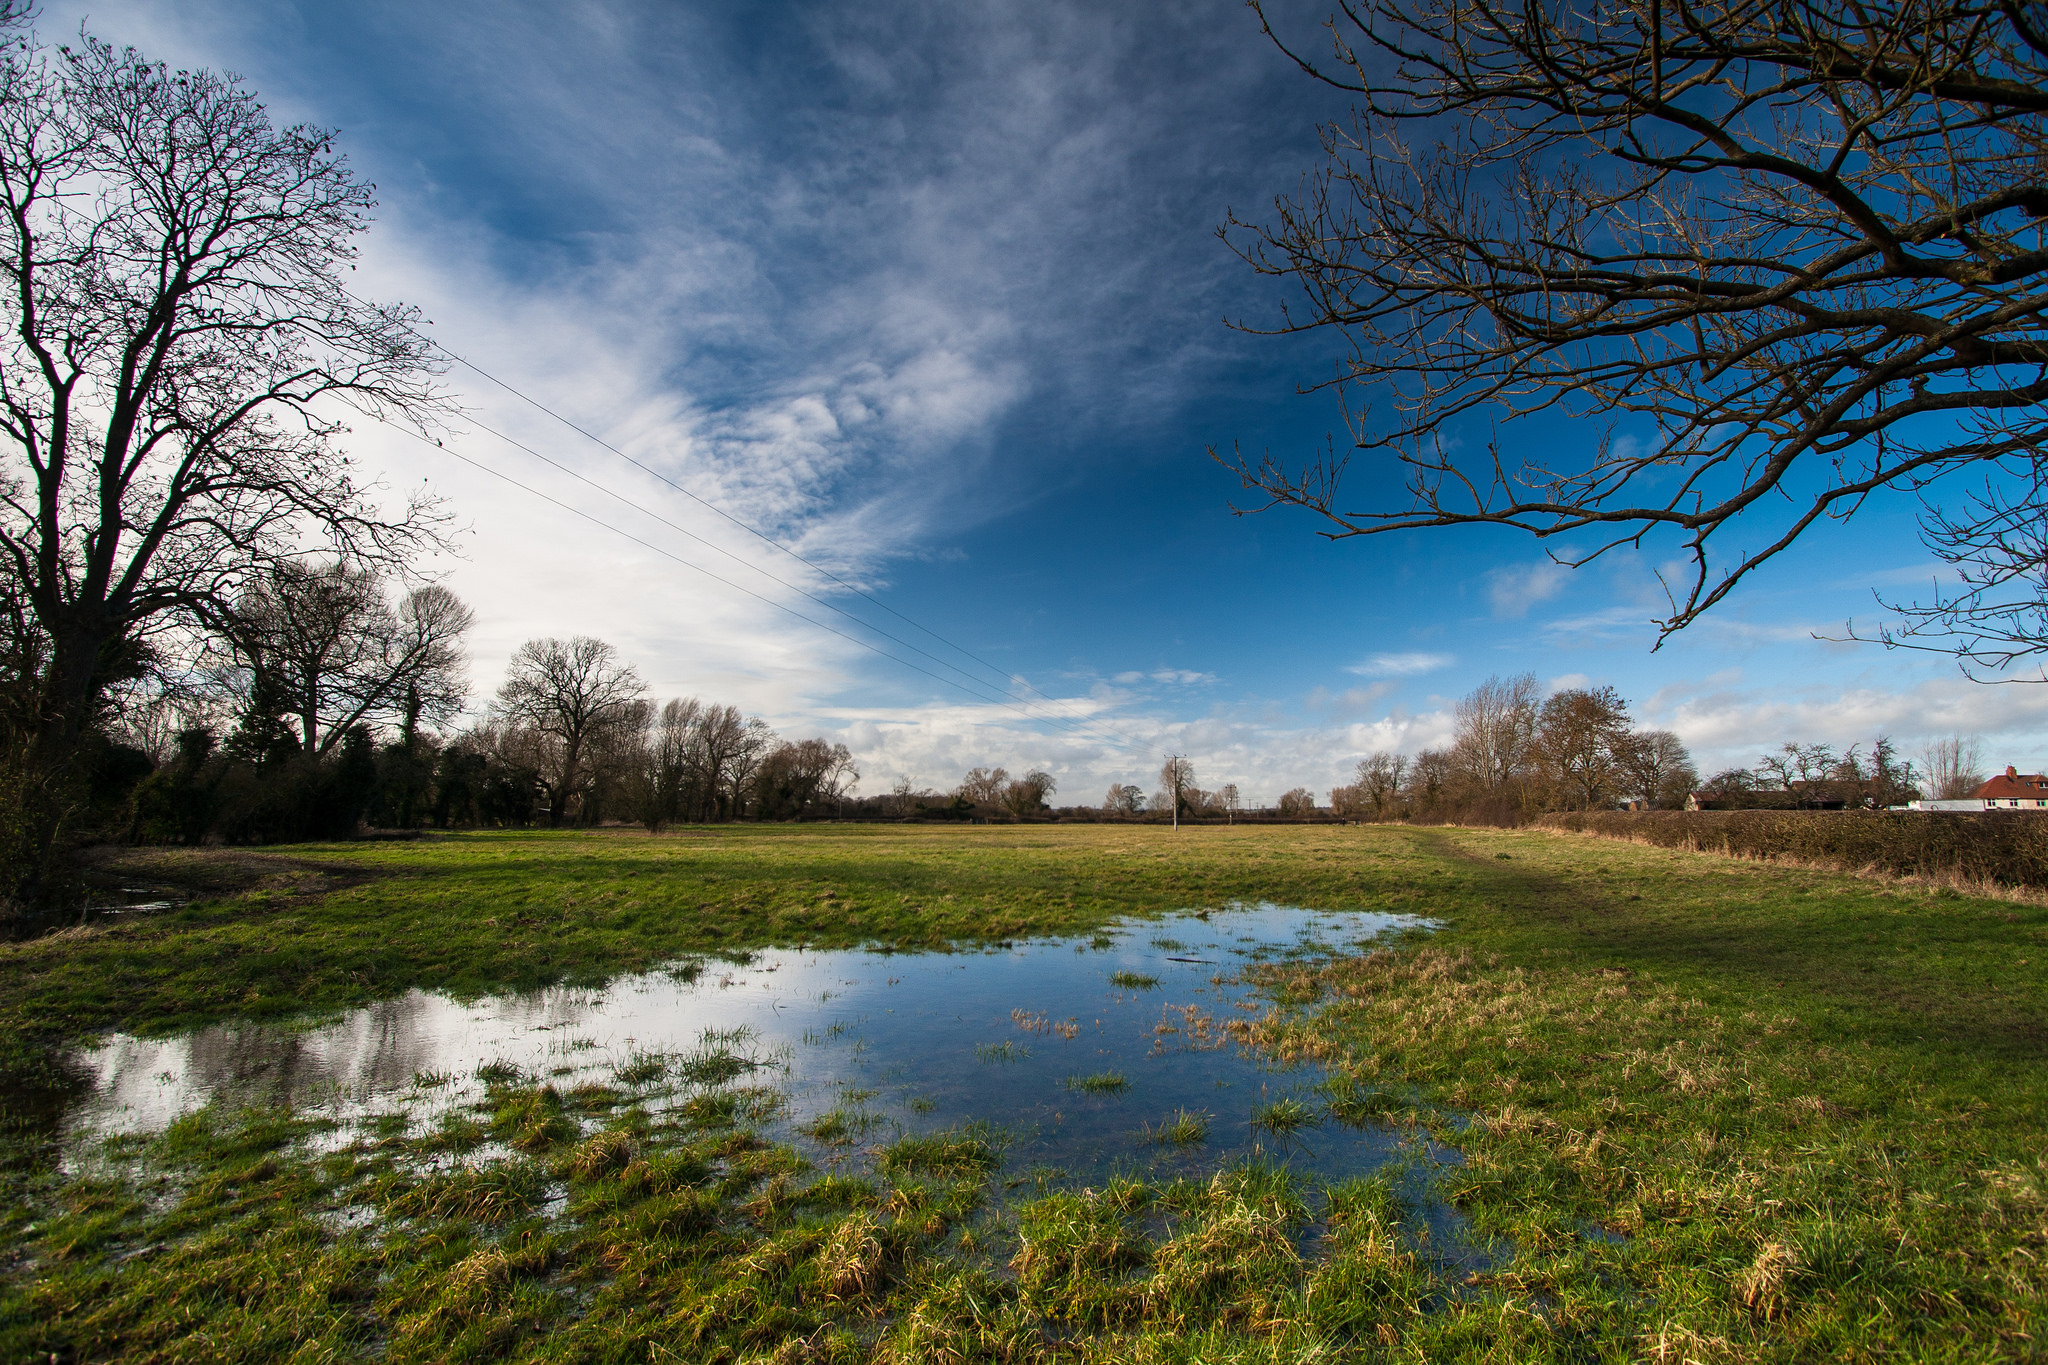
Poor Drainage
One of the most common issues that homeowners experience when gardening is poor drainage. Unfortunately, this can cause flooding in and around your property. Many people worry about the poor drainage affecting their homes and leaking into basements or damaging foundations. Fortunately, rain gardens are one tried and true solution that has benefits that go beyond fixing poor drainage.

Rain Gardens: The Basics
At its core, rain gardens are a “basin” that is made into a garden using plants that absorb and filter water. They can be strategically placed on almost any property to ensure dirty storm water that drains off roofs or driveways drains directly into the rain gardens. By creating a rain garden that specifically draws the water away from the rest of the property, you can save a lot of headaches. No more worrying about the flooding that you have been dealing with for years! Rain gardens actually have many more functions beyond draining your yard of excess water.

Solving Multiple Problems Beautifully
While rain gardens are very effective in solving poor drainage issues, they also have more purpose than that. For example, they are a low maintenance alternative to the traditional garden for those who are new to gardening and want to just get their feet wet. Pun intended.
Rain gardens also provide an excellent source of food and shelter for wildlife. For instance, you may end up seeing more species of birds in your yard than you had before. Having said that, don’t worry too much about your garden becoming a breeding ground for mosquitoes. Mosquitoes require a longer time to lay their eggs than your garden will allow. Based on the speed of filtration that the plants will provide, there won’t be enough time for the mosquitoes to begin breeding.
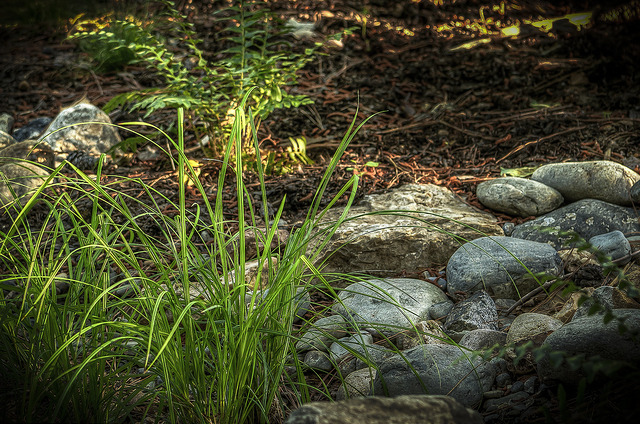
Besides being easy to maintain and welcoming to wildlife, rain gardens are also beautiful. If built right and maintained correctly, your garden can become the highlight of your property. Water-loving plants combined with decorative rocks and grasses make for a beautiful addition to any landscape.

How To:S
Step 1:
Select the area for your rain garden. This area must be at least 10 feet from your house and in a natural depression or low spot on your property. You want a natural slope from your roof or driveway leading to your garden.
Step 2:
Remove the grass from the area you have selected. Dig a “basin” about 6 inches deep and use the removed soil to create a berm or raised bank around the garden to contain the water. Use a bag of BigYellowBag’s Black Garden Soil for added stability if necessary.
Step 3:
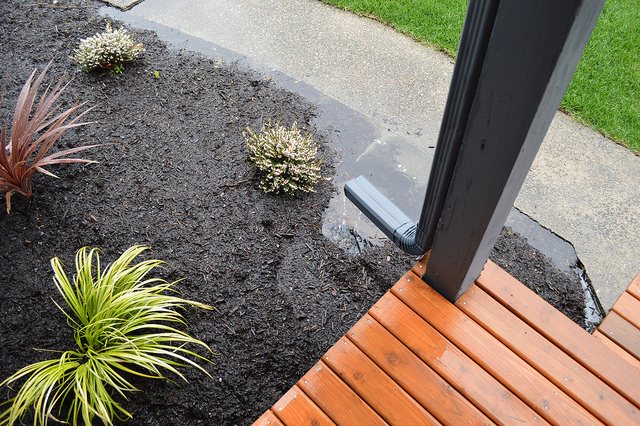
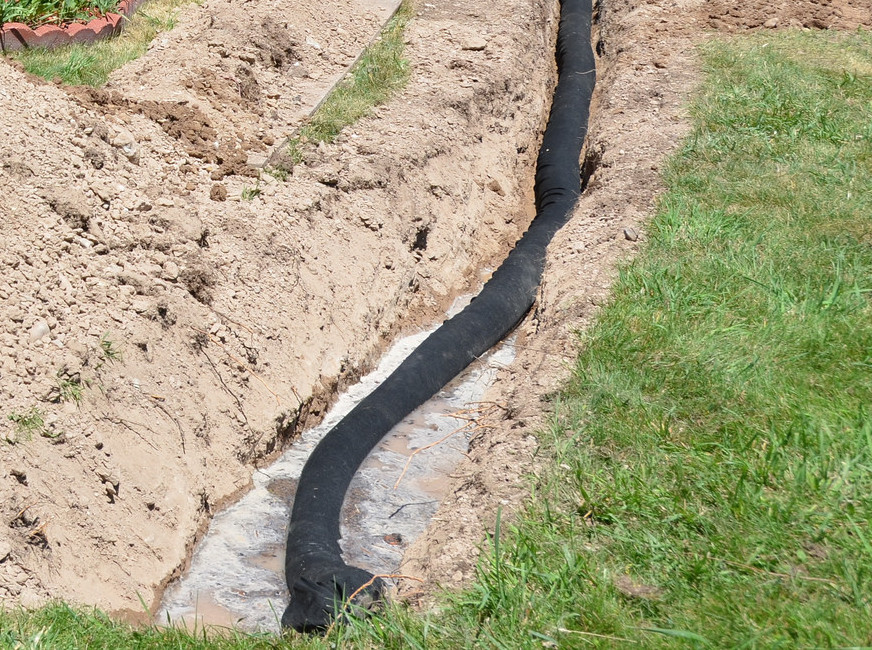
Direct the drainage from your roof or driveway towards your rain garden using a shallow ditch or underground drainage pipe.

Step 4:
Select your plants. It’s wise to include many native plants that love water. Click here to start doing some research to see what plants would work well in rain gardens.
Step 5:
Once you’ve planted the rain garden, make sure you water it carefully for two weeks to ensure proper establishment. Save yourself some money on water by installing a rain barrel to collect water naturally.
Maintain and Enjoy!
Though it may seem like a significant amount of work when you first build your rain gardens, the benefits will soon outweigh the cost. You will see how proper drainage improves the quality of your lawn and the lower maintenance requirements will leave you plenty of time to focus on other areas of your garden or yard!
