
Divide and Conquer: How to Split & Transplant Perennials for a Fuller Garden
You already have more plants than you think… they just haven’t been divided yet! Gardeners across North America have a hidden reserve of perennial plants just waiting to find the right home to flourish. Where are they hiding? Inside your existing perennials lies the potential for completely filled gardens. Perennials, by definition, are perpetually growing. Thanks to this constant growth, you can split them up and transplant the divisions to continue growing somewhere else. This means more plants for your garden without having to break the bank at the garden center! Fuller gardens aren’t the only positive impact of dividing and transplanting though. Your existing perennials will also benefit from added room to grow, increased air flow, and less competition for resources after you divide them. Let’s dig into how you can get all these benefits when you divide perennials!
Why Divide Perennials in the First Place?
perennial: lasting or existing for a long or apparently infinite time; enduring or continually recurring.
(of a plant) living for several years.
As the definition above explains, perennial plants live for several years, surviving winter freeze and thaw cycles, and thriving from spring to fall. Think of plants like hostas, coneflowers, and black eyed susans. All these perennials are common throughout North America, and they can all be effectively divided and transplanted. As a consequence of this constant growth, perennials can be susceptible to reduced or sparse blooming, dead patches developing, and overgrowth. If your plants have these symptoms, it’s a sign that your perennials would benefit from being divided and transplanted! When these plants get overcrowded, their roots will compete for nutrients and water, which can seriously hinder their ability to thrive.
When is the Best Time to Divide
If you’re planning to divide perennials this year, early spring is the ideal window. As soon as new growth emerges, the timing is perfect to divide and transplant your perennials. Be sure to pay close attention to your garden, because it’s critical to get your perennials transplanted early so they can take advantage of the quick establishment that spring conditions encourage. Perennials will start to aggressively grow top-end foliage as soon as the weather warms up.
You want to be dividing and transplanting when the natural life cycle of your perennials is encouraging root growth, so the earlier the better! If you miss the early-spring window for dividing and transplanting your perennials, you can also split up your plants in early fall, after the summer heat has passed. You always want to avoid dividing and transplanting when your plants are blooming, or when the summer heat is at its peak. Stressed out perennials won’t establish properly if you tried to divide them.
To Divide, or Not to Divide Perennials… That, is the Question.
Not all perennials are ideal candidates for dividing and transplanting. As we mentioned before, hostas, coneflowers, and black eyed susans are excellent candidates for dividing and transplanting. Some other suitable varieties are astilbe, salvia, and phlox. If you have some of these plants growing already, you’re all set to start dividing and transplanting this season. Be sure to ask your friends and family if they have these varieties growing in their gardens, and if they don’t mind sharing!
Be careful when choosing which perennials to divide. Not all perennials are capable of being divided and transplanted. Peonies, baptisia, and hellebores are all perennials that are slow to establish and they’re generally best left alone. In general, if a given perennial forms a “spreading clump”, it can most likely be divided.
How-To Divide Perennials
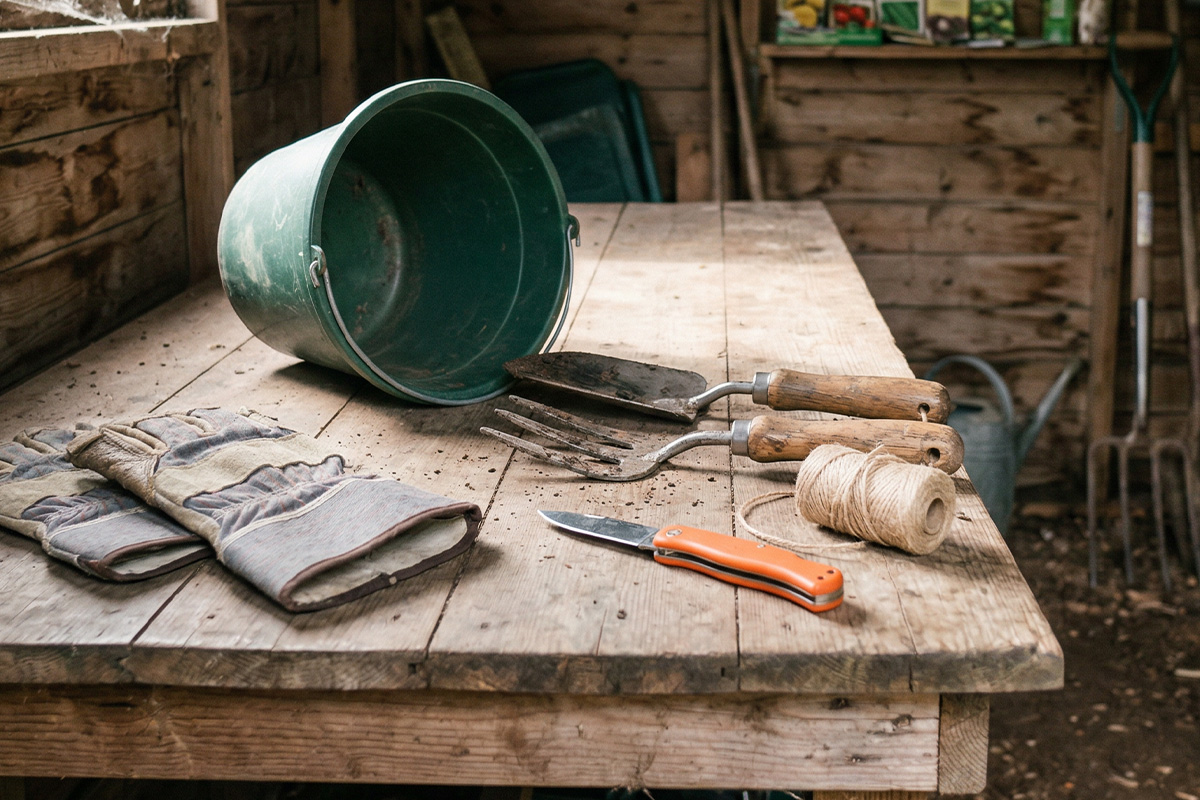
What You’ll Need
- Garden fork or spade
- Sharp knife or pruning saw for tough root masses
- Bucket of water to prevent divisions drying out
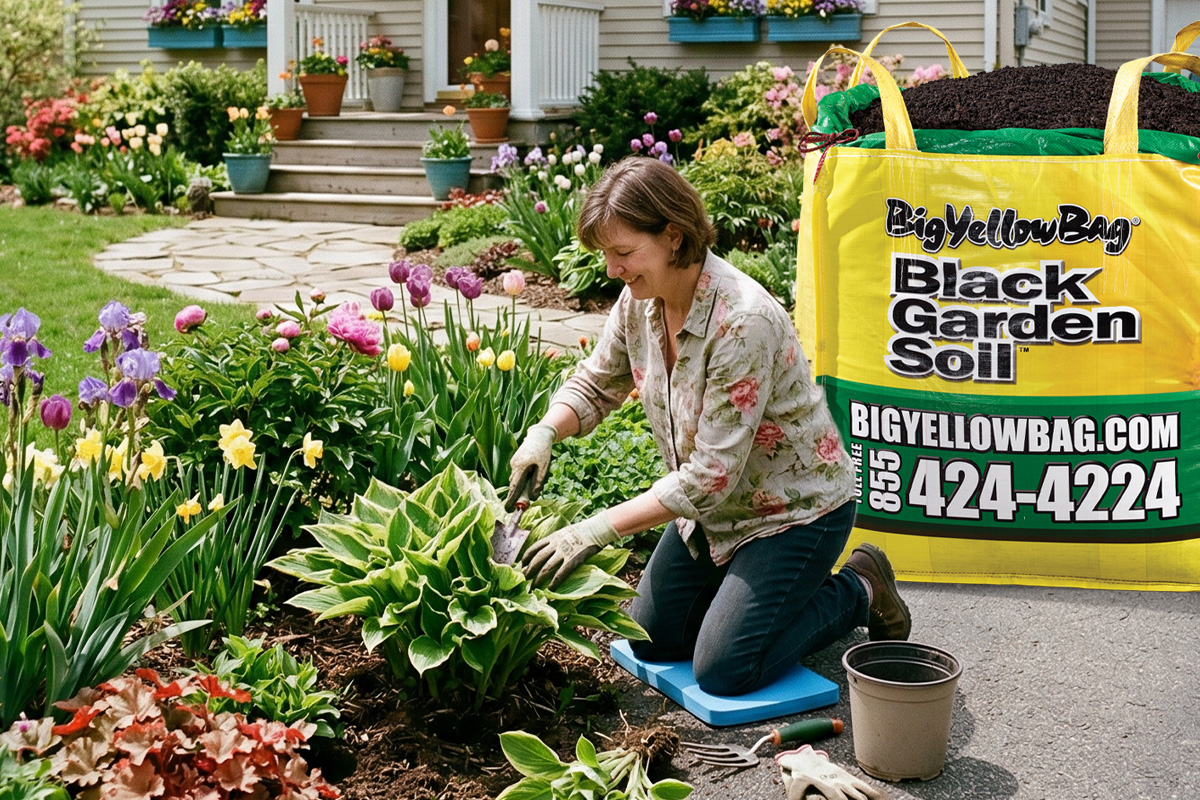
- Fresh Black Garden Soil for replanting
- BigYellowBag’s Black Garden Soil is engineered to grow everything better. Starting with a recipe of black loam, peat loam, well-composted manure, and a touch of mineral soil for stability, Black Garden Soil is loaded with nutrients and organic matter to supercharge your divided perennials!
- Mulch for that professional finishing touch
Step-by-Step Guide to Dividing & Transplanting Perennials
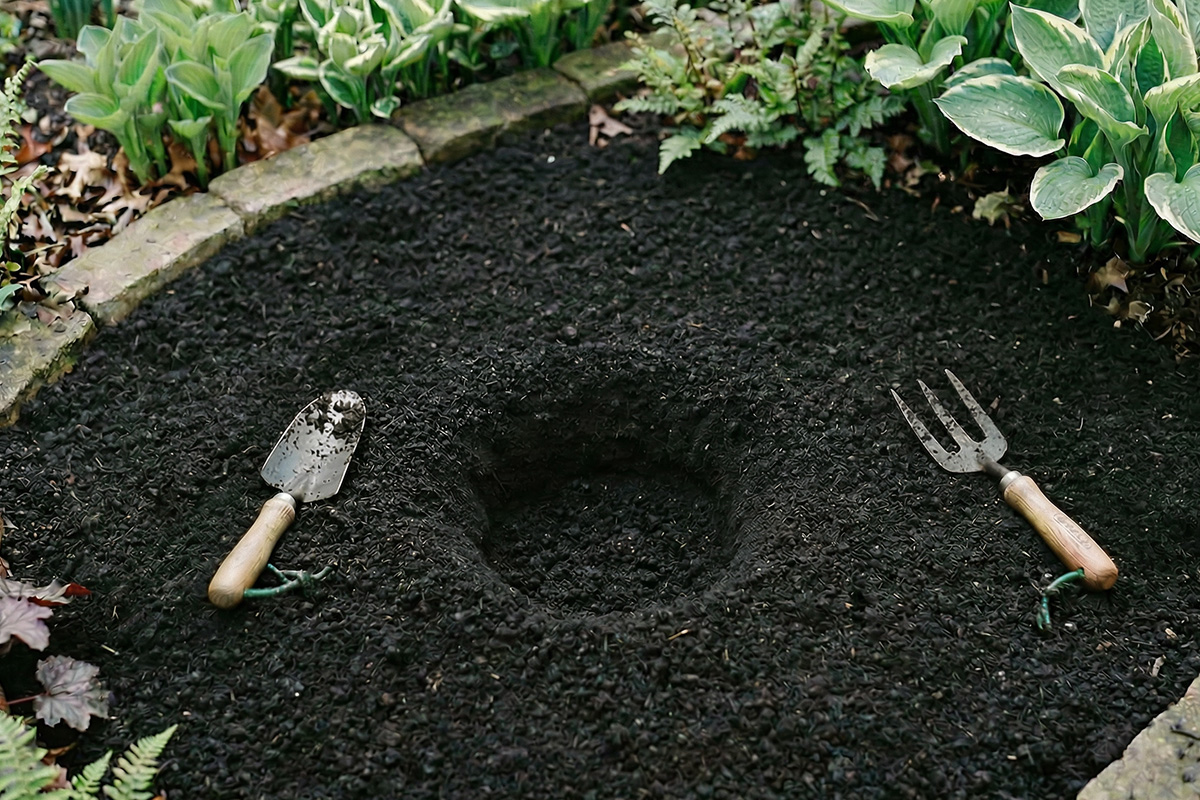
Step 1: Prepare Your Destination First
By now, you should have an idea of what plants you’re going to divide. Before you get anywhere near your existing perennials, we recommend making plan. You’re going to want to know where your new divisions are going before you start digging. Prepare the the new planting area by loosening up the soil, and working in some fresh Black Garden Soil to replenish nutrients and ensure proper moisture retention. Ensuring that your destination spot is prepared and ready for the new divisions means that you can minimize the amount of time those divisions are out of the ground. The faster you can return your divisions to a nutrient rich home, the better the chances of survival are.
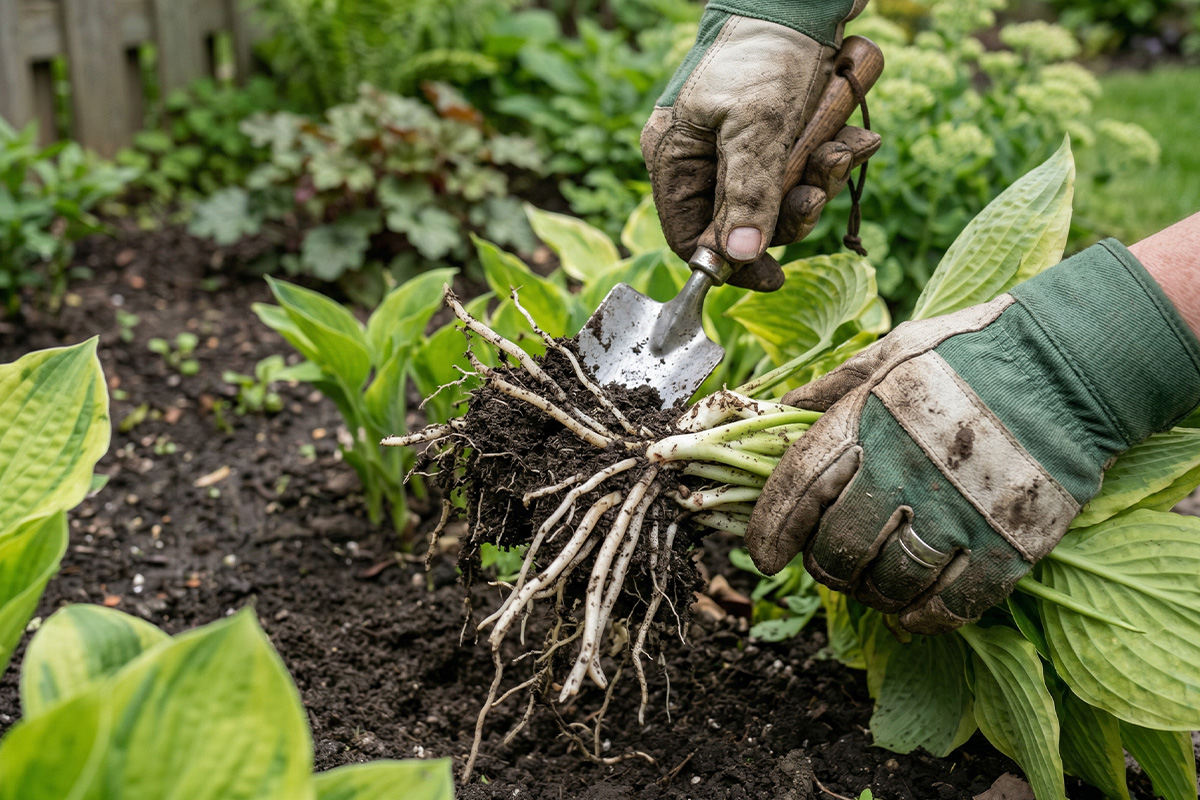
Step 2: Dig The Entire Clump
Using your garden fork or spade, work around the whole root mass of the perennial you want to divide. Try your best to lift the root mass cleanly instead of chopping through it. The more healthy roots that you can preserve, the better. Shake or gently rinse off the excess soil to see the root structure clearly.
Step 3: Divide Perennials Into Healthy Sections
Now that you have your perennial lifted from the ground, you’re going to want to work with some urgency. Inspect the plant and try to identify 2-3 healthy shoots. Using your hands, try to pull those shoots, along with their roots, apart from the rest of the plant. Using your hands is typically more gentle on the plant than chopping at it with tools. In certain cases, the root mass can be extremely dense or woody. If you’re unable to pull your divisions apart by hand, use a sharp knife or spade to help divide. Always be careful to do as little damage to the roots as possible. Set your first division aside (preferably in the shade) and continue dividing 2-3 shoot bunches. If there’s any dead, woody, or mushy growth in your perennial, be sure to pull that away and discard it.
Step 4: Replant Your Divisions Promptly
You always want to avoid leaving divisions out in the sun or wind. Divided roots will dry out quickly, and being divided can cause enough stress on the plant as it is. Do your best to replant your divisions at the same depth that they were at in their original growing location. Fill in around the roots with Black Garden Soil and gently press in the soil around your division to eliminate air pockets. Be sure to water your newly planted division thoroughly immediately after planting.
Step 5: Add Mulch & Monitor
Now that your division is in its new home, apply a layer of 3-4 inches of mulch. Mulch at this depth will not only provide moisture retention and temperature regulation, but it will also help combat weed growth. Remember to always keep your newly planted divisions consistently watered for the first few weeks while the roots establish. If you see your divisions wilting or struggling a little bit, don’t freak out. This is normal plant behaviour as your divisions adjust. Rest assured, your “new” perennials should be thriving in no time.
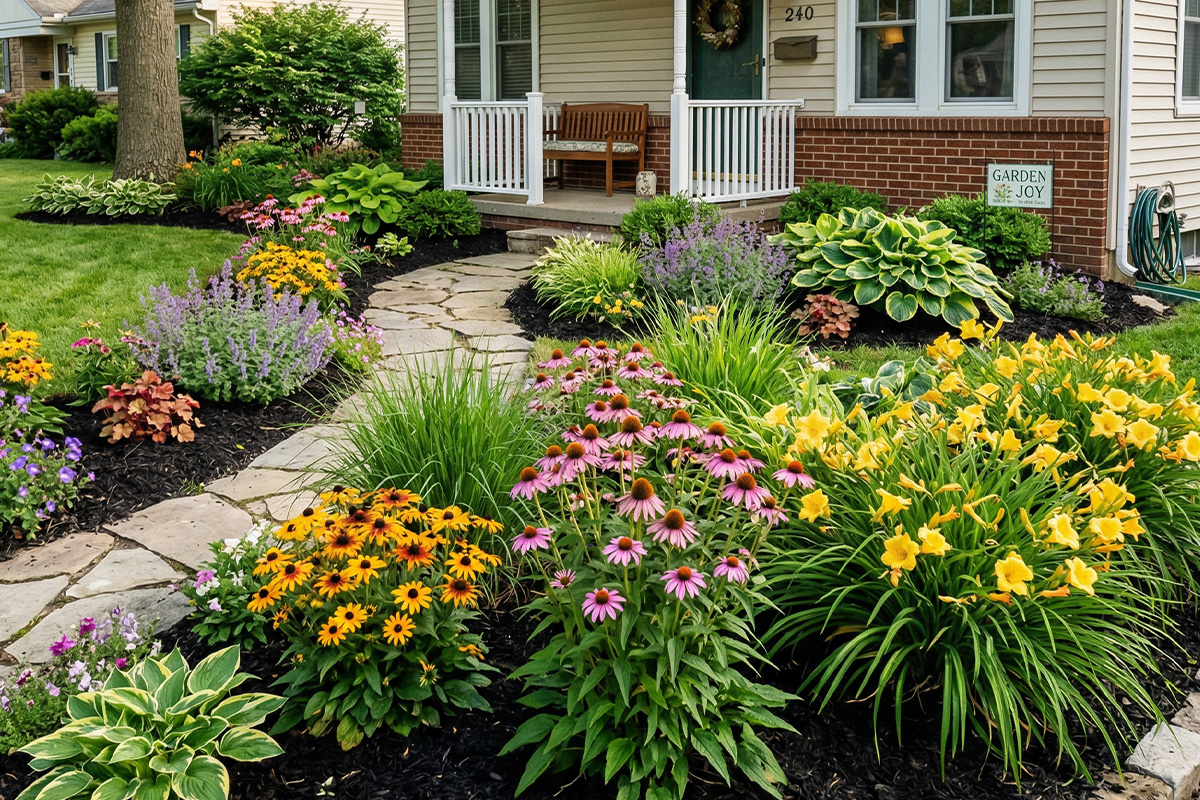
How to Use Divisions to Fill in Your Garden
When you start to divide perennials, you’ll unlock a completely new way to expand your gardens. Fill in bare spots or thin areas in your existing beds with your divisions. You can freely extend bed borders without having to buy new plants. Using uniform divisions will help ensure continuity and repetition throughout your landscape for more of a “designed” look. These are all great consequences of dividing perennials, but the best way to use divisions in our opinion, is to share them! Share divisions with neighbours, friends, or community gardens. Perennials truly are one of gardening’s greatest gifts.
Quality Soil Makes it Easy to Divide Perennials
When dividing and transplanting perennials, having high quality Black Garden Soil in your garden, and at the ready for your new divisions, will make a world of difference. Divided plants are temporarily stressed out, and good soil helps them recover in their new home faster. If your existing garden soil is compacted or depleted, roots will establish slower, and maybe not establish at all. Divided perennials thrive in soil that’s loaded with organic matter, has good soil structure, and the proper amount of moisture retention. Luckily, BigYellowBag’s Black Garden Soil covers all those bases. Give your divided perennials their best chance at success this spring with BigYellowBag.

Divide Perennials for Your Best Garden Yet
In the early spring, many gardeners are eager to get gardening, but sometimes the conditions don’t permit performing all our regular garden tasks. Dividing perennials is one of the highest-return tasks you can do in your spring garden. It costs nothing, takes an afternoon, and you’ll reap the rewards of your divided perennials all season long. Be sure to get your BigYellowBag delivered before your planting window opens, so you’re ready to go the moment dividing perennials is possible.