
Fire Pits are Perfect for Fall!
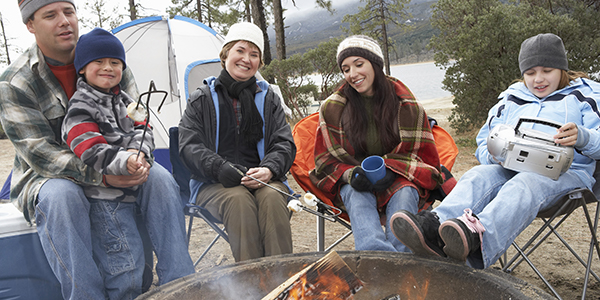
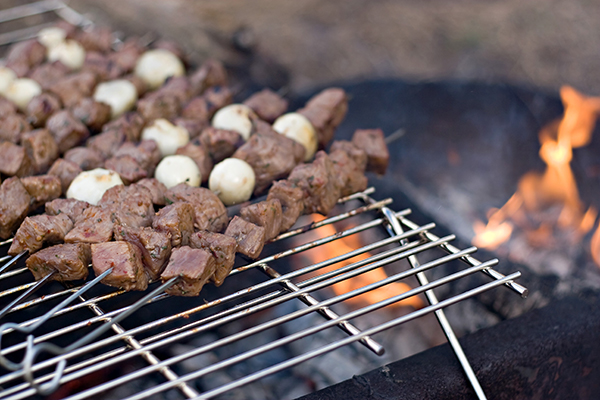
Autumn. A season accented by cool weather, changing leaves, and time spent with family. While we’re leaving pool side BBQ’s behind us, backyard hangouts can incorporate something more suitable for fall: a bonfire! Whether it’s for roasting marshmallows, cooking a meal, or just creating a relaxing space to gather, a fire pit can be a fantastic addition to your backyard oasis.
Check Your Local By-Laws Before Building a Fire Pit!
Before you get to work installing one, be sure to check with your municipality to see what the local bylaws are. You don’t want to spend the time and money putting in a fire pit only to discover that you’ll face a hefty fine if you actually use it!
Plan where you’re going to put your fire pit carefully. It should be away from any structures, like your house or shed, as well as any trees. It’s a good idea to make sure it’s within reach of your garden hose, so you can douse it easily and quickly.
You can use a bowl or insert ring in your fire pit. Bowls in particular are a good idea. They can be removed for a quick and easy cleaning. If you decide to go this route, keep in mind that you’ll have to build your fire pit wall to fit the insert.
How-To Build a Backyard Fire Pit
- Once you know the size your fire pit will ultimately be, put a stake in the centre of where you’re building it, and mark off the shape you need. This should be slightly larger than what your fire pit will ultimately be.
- Dig a hole about seven inches deep, and then tamp it flat.
- Put in a gravel base, about 5 inches, wet it thoroughly and then tamp it again. Use a level to make sure everything is nice and even. If you’re using bricks, make sure they are snug against each other. You can use a rubber mallet to help get them into position.
- When you’re done the first layer, use a long level across the diameter to make sure everything is flat. You might need to add a bit of sand or gravel under some of the bricks to get everything to line up.
- On your second layer, be sure to stagger the bricks to create more stability in the structure. Check again to make sure it’s still level.
- If you’re using a bowl or insert ring, take a minute for a test fit and make sure its lip rests on the bricks all the way around. If it doesn’t, you’ll have to adjust your ring accordingly.
- Once you’re sure everything fits and is level, gradually remove the second layer to put down some construction adhesive, reinstalling the second layer as you go. This will make sure that nothing moves later (particularly if you or your guests have a tendency to use the edge of the fire pit as a footrest).
- You can add as many layers of bricks as you want to; most people do three or four layers total.

The Perfect Addition to Your Backyard Oasis!
Of course, the best compliment to a fire pit is a beautiful garden and lawn to enjoy in the twilight hours. You can help make this happen by using BigYellowBag Black Garden Soil. It’s got everything plants need, including essential nutrients and organic matter, to grow healthy and strong. Also, its deep colour is perfect for a clean look in your garden!
