
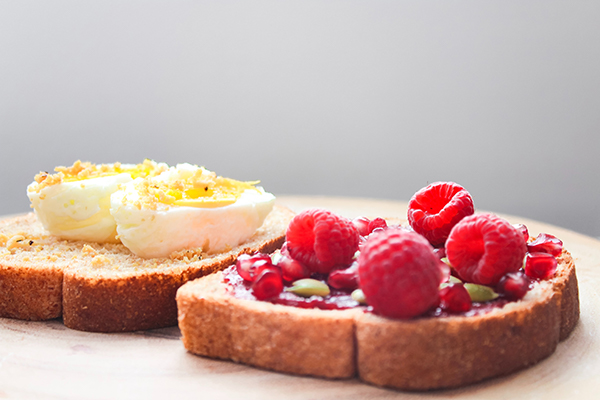
Raspberry Jam: How to Make It From The Garden!
Recently we published an article all about how to get started growing berries in the garden! We hope you’ve had a chance to check that one out, and dig into the awesome world of berries. My personal favorite backyard berries are raspberries. I could snack on them all day in the garden, and still put a handful on my salad for dinner. But my favorite way to enjoy garden raspberries is in homemade raspberry jam! As a child, my grandmother would send us out to the garden to pick the raspberries that would be later turned into this delicious spread. It’s great on plain old toast in the morning, but my favourite way to enjoy it is on a freshly baked scone… Pancakes and crepes are made even better too with homegrown raspberry jam! Is your mouth watering yet?

Start Making Your Own Raspberry Jam
Now, let’s dive into making your own homegrown raspberry jam! As much as it’s easier to go and buy a jar at the grocery store, you’ll notice a world of difference when it comes to taste. Some people are cautious about canning, but jams are a great way to learn the basic canning process.
What You’ll Need
- 4 cups of raspberries
- 2 cups of sugar
- 1 teaspoon of lemon juice
- 1 pint sized self-sealing jar
- 2 medium sized pots
- Set of kitchen tongs
- A baking spatula
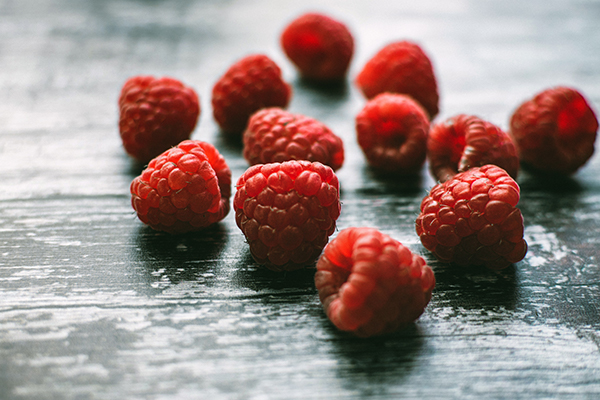
Step 1: Get Your Raspberries
Hopefully you’ve had a chance to establish your own backyard raspberry patch and can simply head out back and start picking! But if you haven’t, try to find the best raspberries you can from your local grocery store. You’ll need about 4 cups of raspberries to make 1 jar of jam. Typically, raspberries are bought by the pint, and there are about 2 cups per pint. You may also see them for sale in ounces, in which case you’ll need about 24 oz’s.
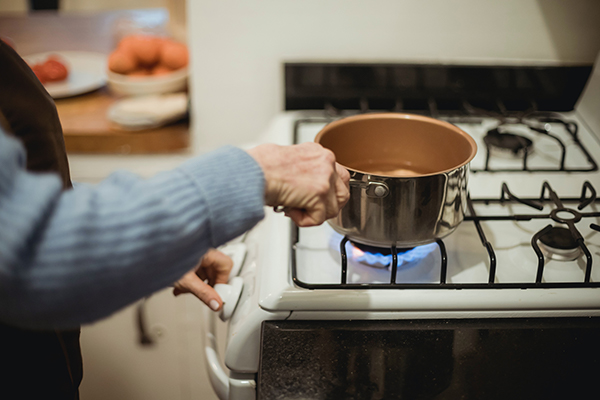
Step 2: Prepare for Canning Raspberry Jam
Since you’ll be preserving the jam, and storing it for some time, you’re going to want to sterilize your jar. Place the empty jar in pot of boiling water, and vigorously boil it for about 10 minutes. Next, remove the jar using your kitchen tongs and set it aside on a clean surface to dry. Keep that water on the stove, and bring it down to simmer. You can then place the lid in your pot and simmer the water for about 10 minutes. Be careful not to do this on too high of heat, because you can ruin the seal on the lid. Remove the lid and leave it to dry with the jar. Empty the water from your pot and let it cool.
ALWAYS check the manufacturer’s recommendation when sterilizing your self sealing jars. Some brands have different recommended methods for sterilizing.
You may also want to put a small plate in the freezer before you start to make your jam. This cold plate will come in handy when you’re almost done making your raspberry jam to check the consistency and ensure it’s thick enough!
Step 3: Start Making Your Raspberry Jam
Put your fresh raspberries in the pot and mash them up using a spatula. Add in the two cups of sugar and mix it well. Allow this mixture to stand for about 15 minutes or until you start to see juice forming in the pot. Then boil the mixture on medium-high heat, stirring frequently to prevent burning. The mixture will rise up in the pot, and you may see some foam forming. Skim that foam off and continue to boil the mixture.
Step 4: Achieve Your Desired Consistency
Once it cooks down and starts to thicken, you can go grab that plate from the freezer. Using your spatula take a small amount of the cooked down jam and place it on the cold plate. Give it a moment to cool down and ensure that it’s the right thickness. When you’ve achieved your desired consistency, mix in the lemon juice and turn off the heat.
Step 5: Time to Jar Your Raspberry Jam
Your raspberry jam is just about ready! Grab your sterilized jar and carefully spoon your jam into it. Leave about a 1/4″ of space in the jar. Next, with a clean cloth, wipe the top of your jar and the lid to ensure a good seal. Place the lid on the jar, and screw it on finger tight.
Step 6: Seal the Jar
Now you can either grab a second pot, or wash out the one you cooked the jam in. This part may vary depending on the self-sealing jar you have, so always follow the manufacturer’s instructions. In general, fill the pot with water so that there will be about 2″ of water covering the jar once you place it in. Bring the water to boil and place the jar in the pot for about 10 minutes. Use your tongs to remove the jar again and let it cool overnight.

Finally, double check that the jar has sealed properly by pressing down in the center of the lid. You want to see the lid flex down and pop back up. That’s all there is to it! Now you have a jar of homemade, hopefully homegrown raspberry jam. Enjoy it with just about every bread product you can think of, or use it in one of your favorite jam filled baking recipes. Keep in mind this recipe can be replicated with blackberries too! We hope you’ve been able to establish a backyard berry patch of your own and can make all kinds of jams and preserves.
If you haven’t started growing your own berry patch, be sure to check out this blog article, and remember to give your garden the best chance at success with BigYellowBag Black Garden Soil! We’ve engineered it to grow EVERYTHING better, including your berries! Let us know in the comments what you want to learn about next!